Whilst airers and tumble dryers are a year-round way to dry your clothes indoors, there is no better way to keep your clothes looking, feeling and smelling fresh and doing laundry like a pro, than pegging it out on a washing line. Not to mention, airing your laundry is a great eco-friendly household chore alternative! However, an outdoor washing line does require maintenance to keep it tight and in the best condition.
Why tightening your washing line is important
Tightening your washing line is important because, overall, it prolongs its lifespan. With time, all washing lines will sag, but many people choose to admit defeat and purchase a new one. However, with the helpful tips in this article, you will be able to prevent sagging, keep your clean laundry off the ground and prolong the lifespan of your beloved, free clothes dryer.
Types of washing lines
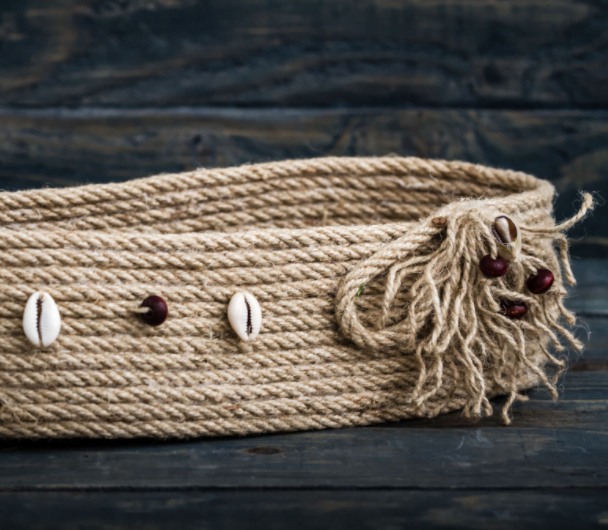
Rope washing line
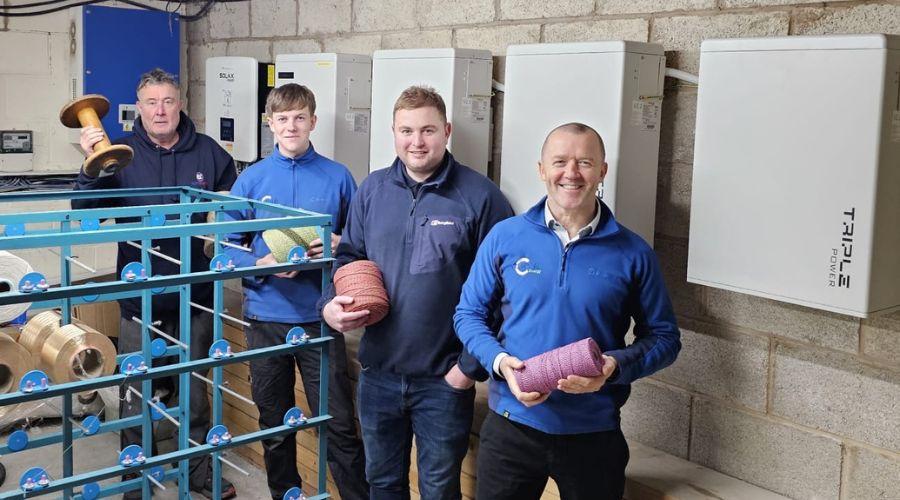
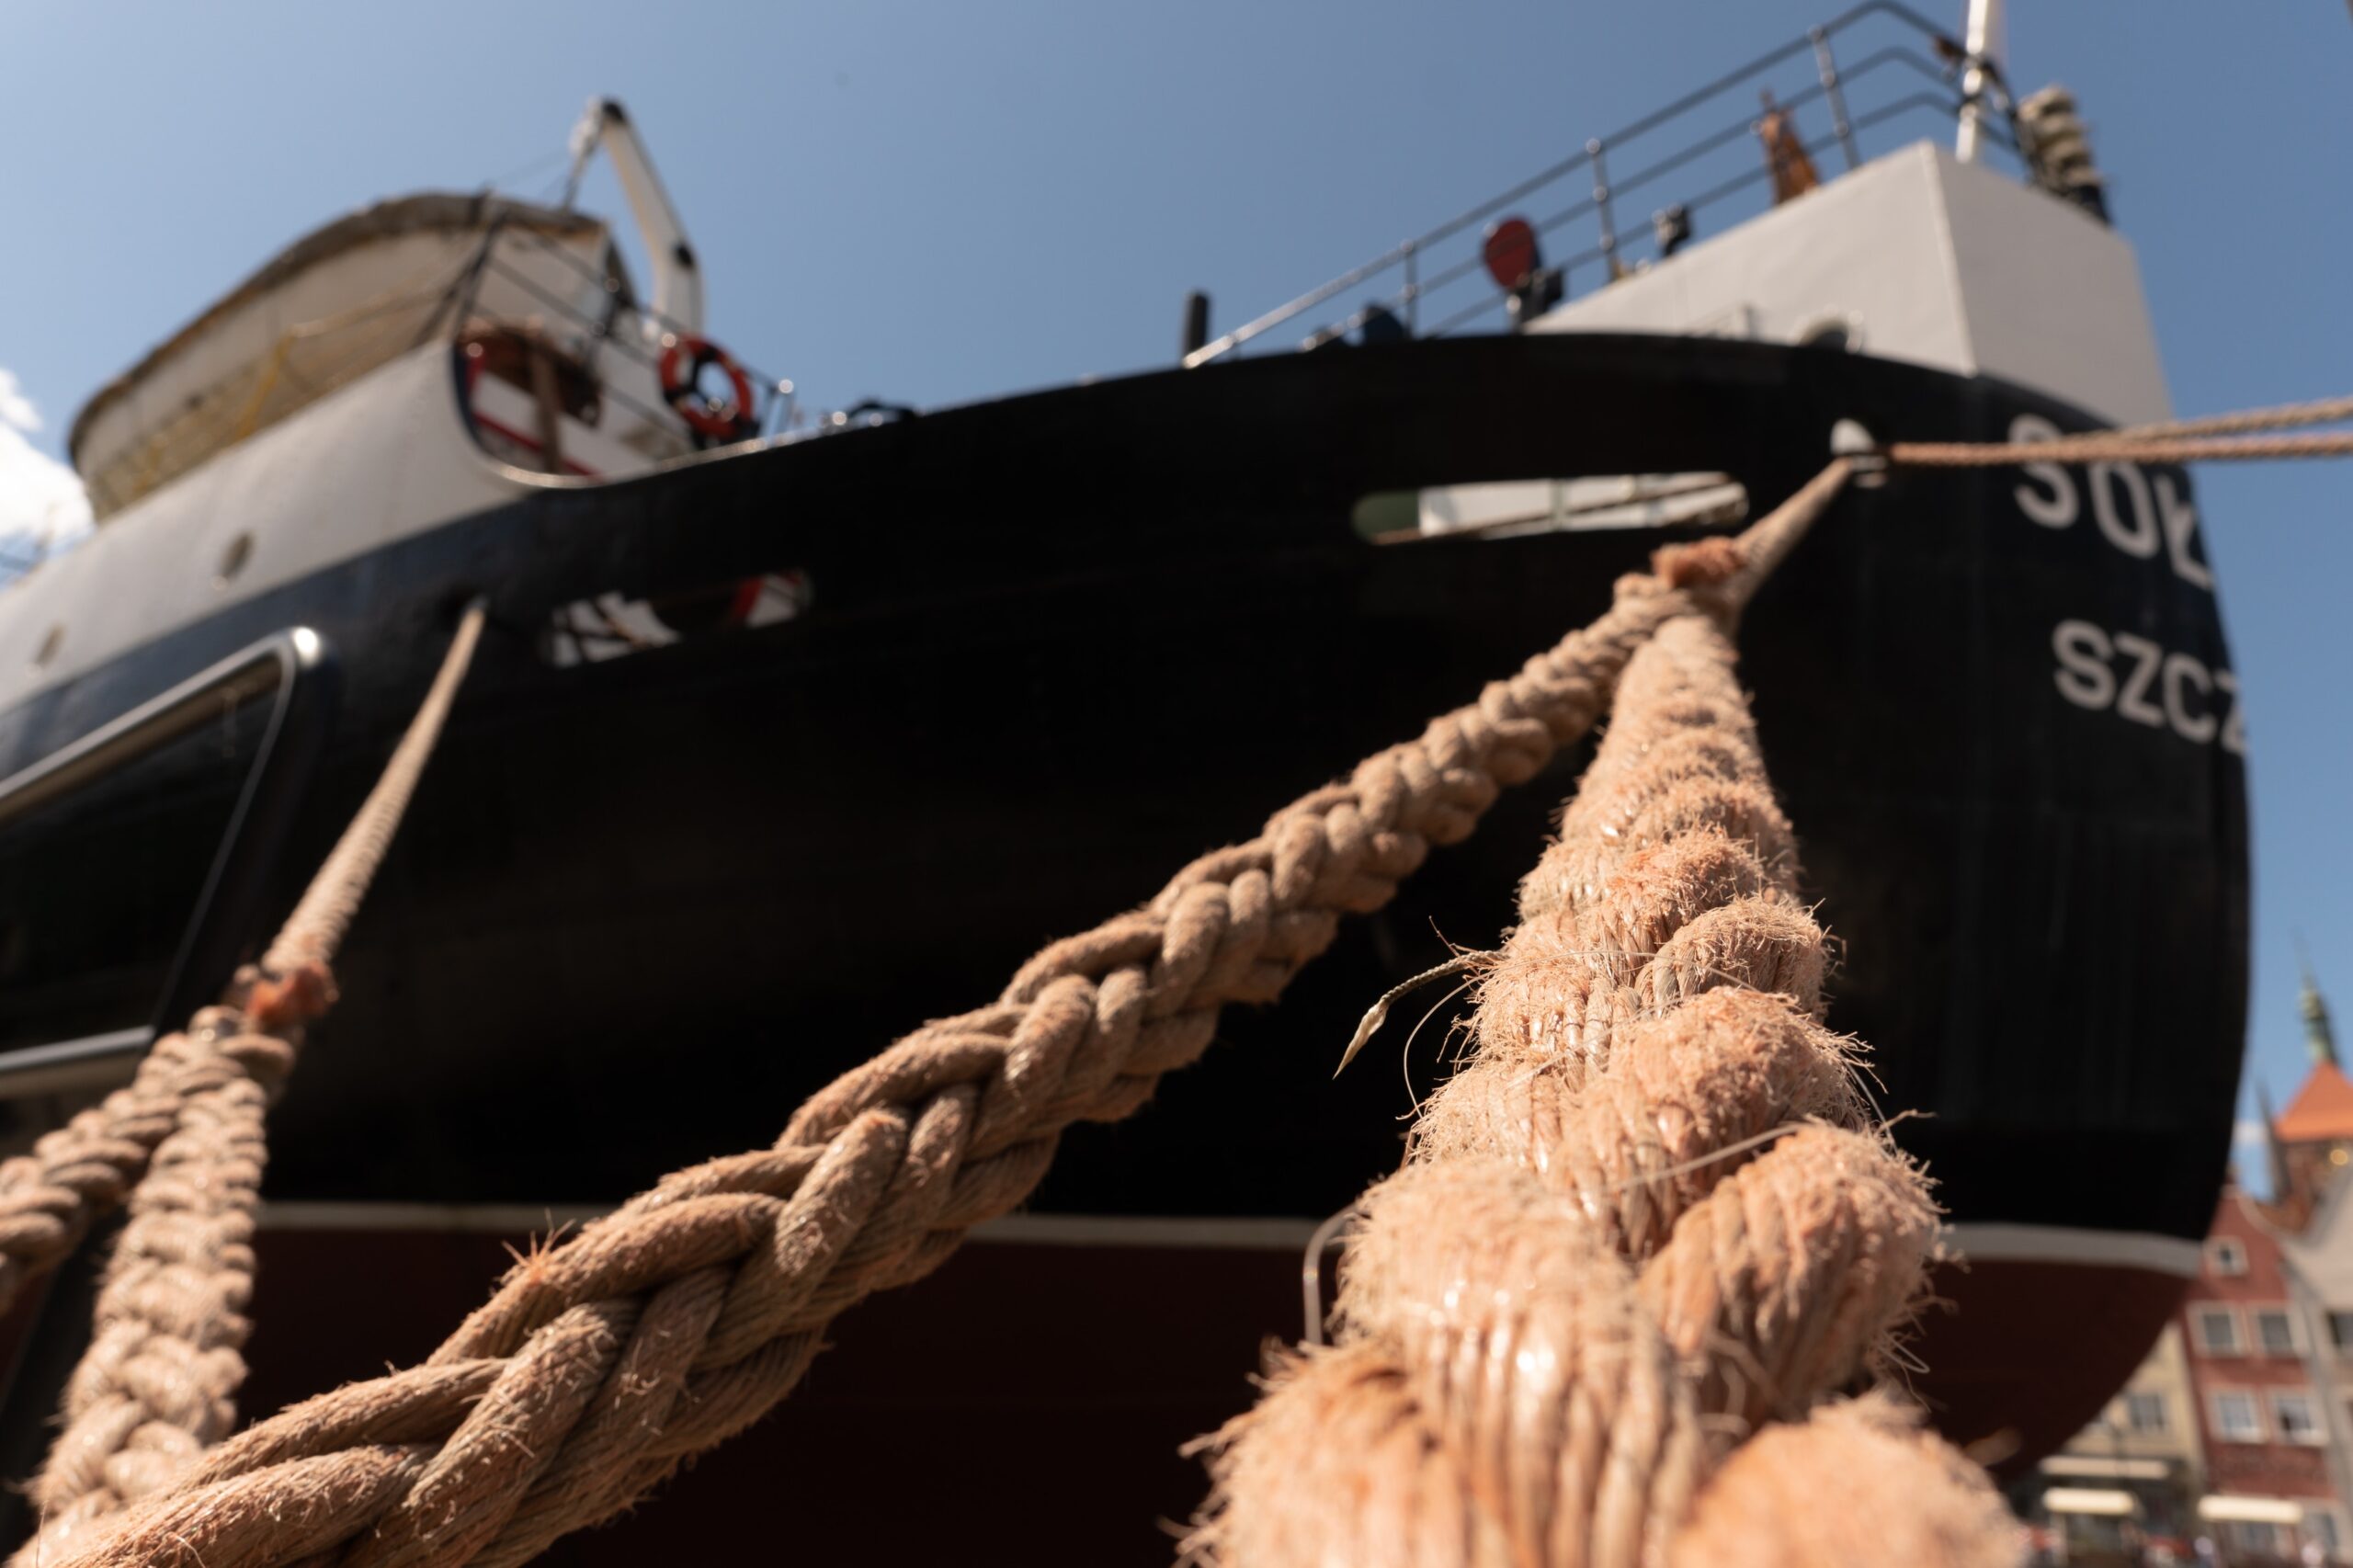
Rope washing lines are pretty self-explanatory – they’re washing lines made out of rope or typically some sort of strong cord, which you can hang your wet clothing on whilst they dry outside. Rope washing lines are usually connected wall-to-wall, wall-to-fence or to some other strong structure within your garden.
The type of rope used in rope washing lines can vary depending on your budget, where the line is situated and the weather conditions it will be outside in. Typically, we would recommend choosing between natural rope or poly rope for your washing line, though PVC and steel core washing lines are also popular.
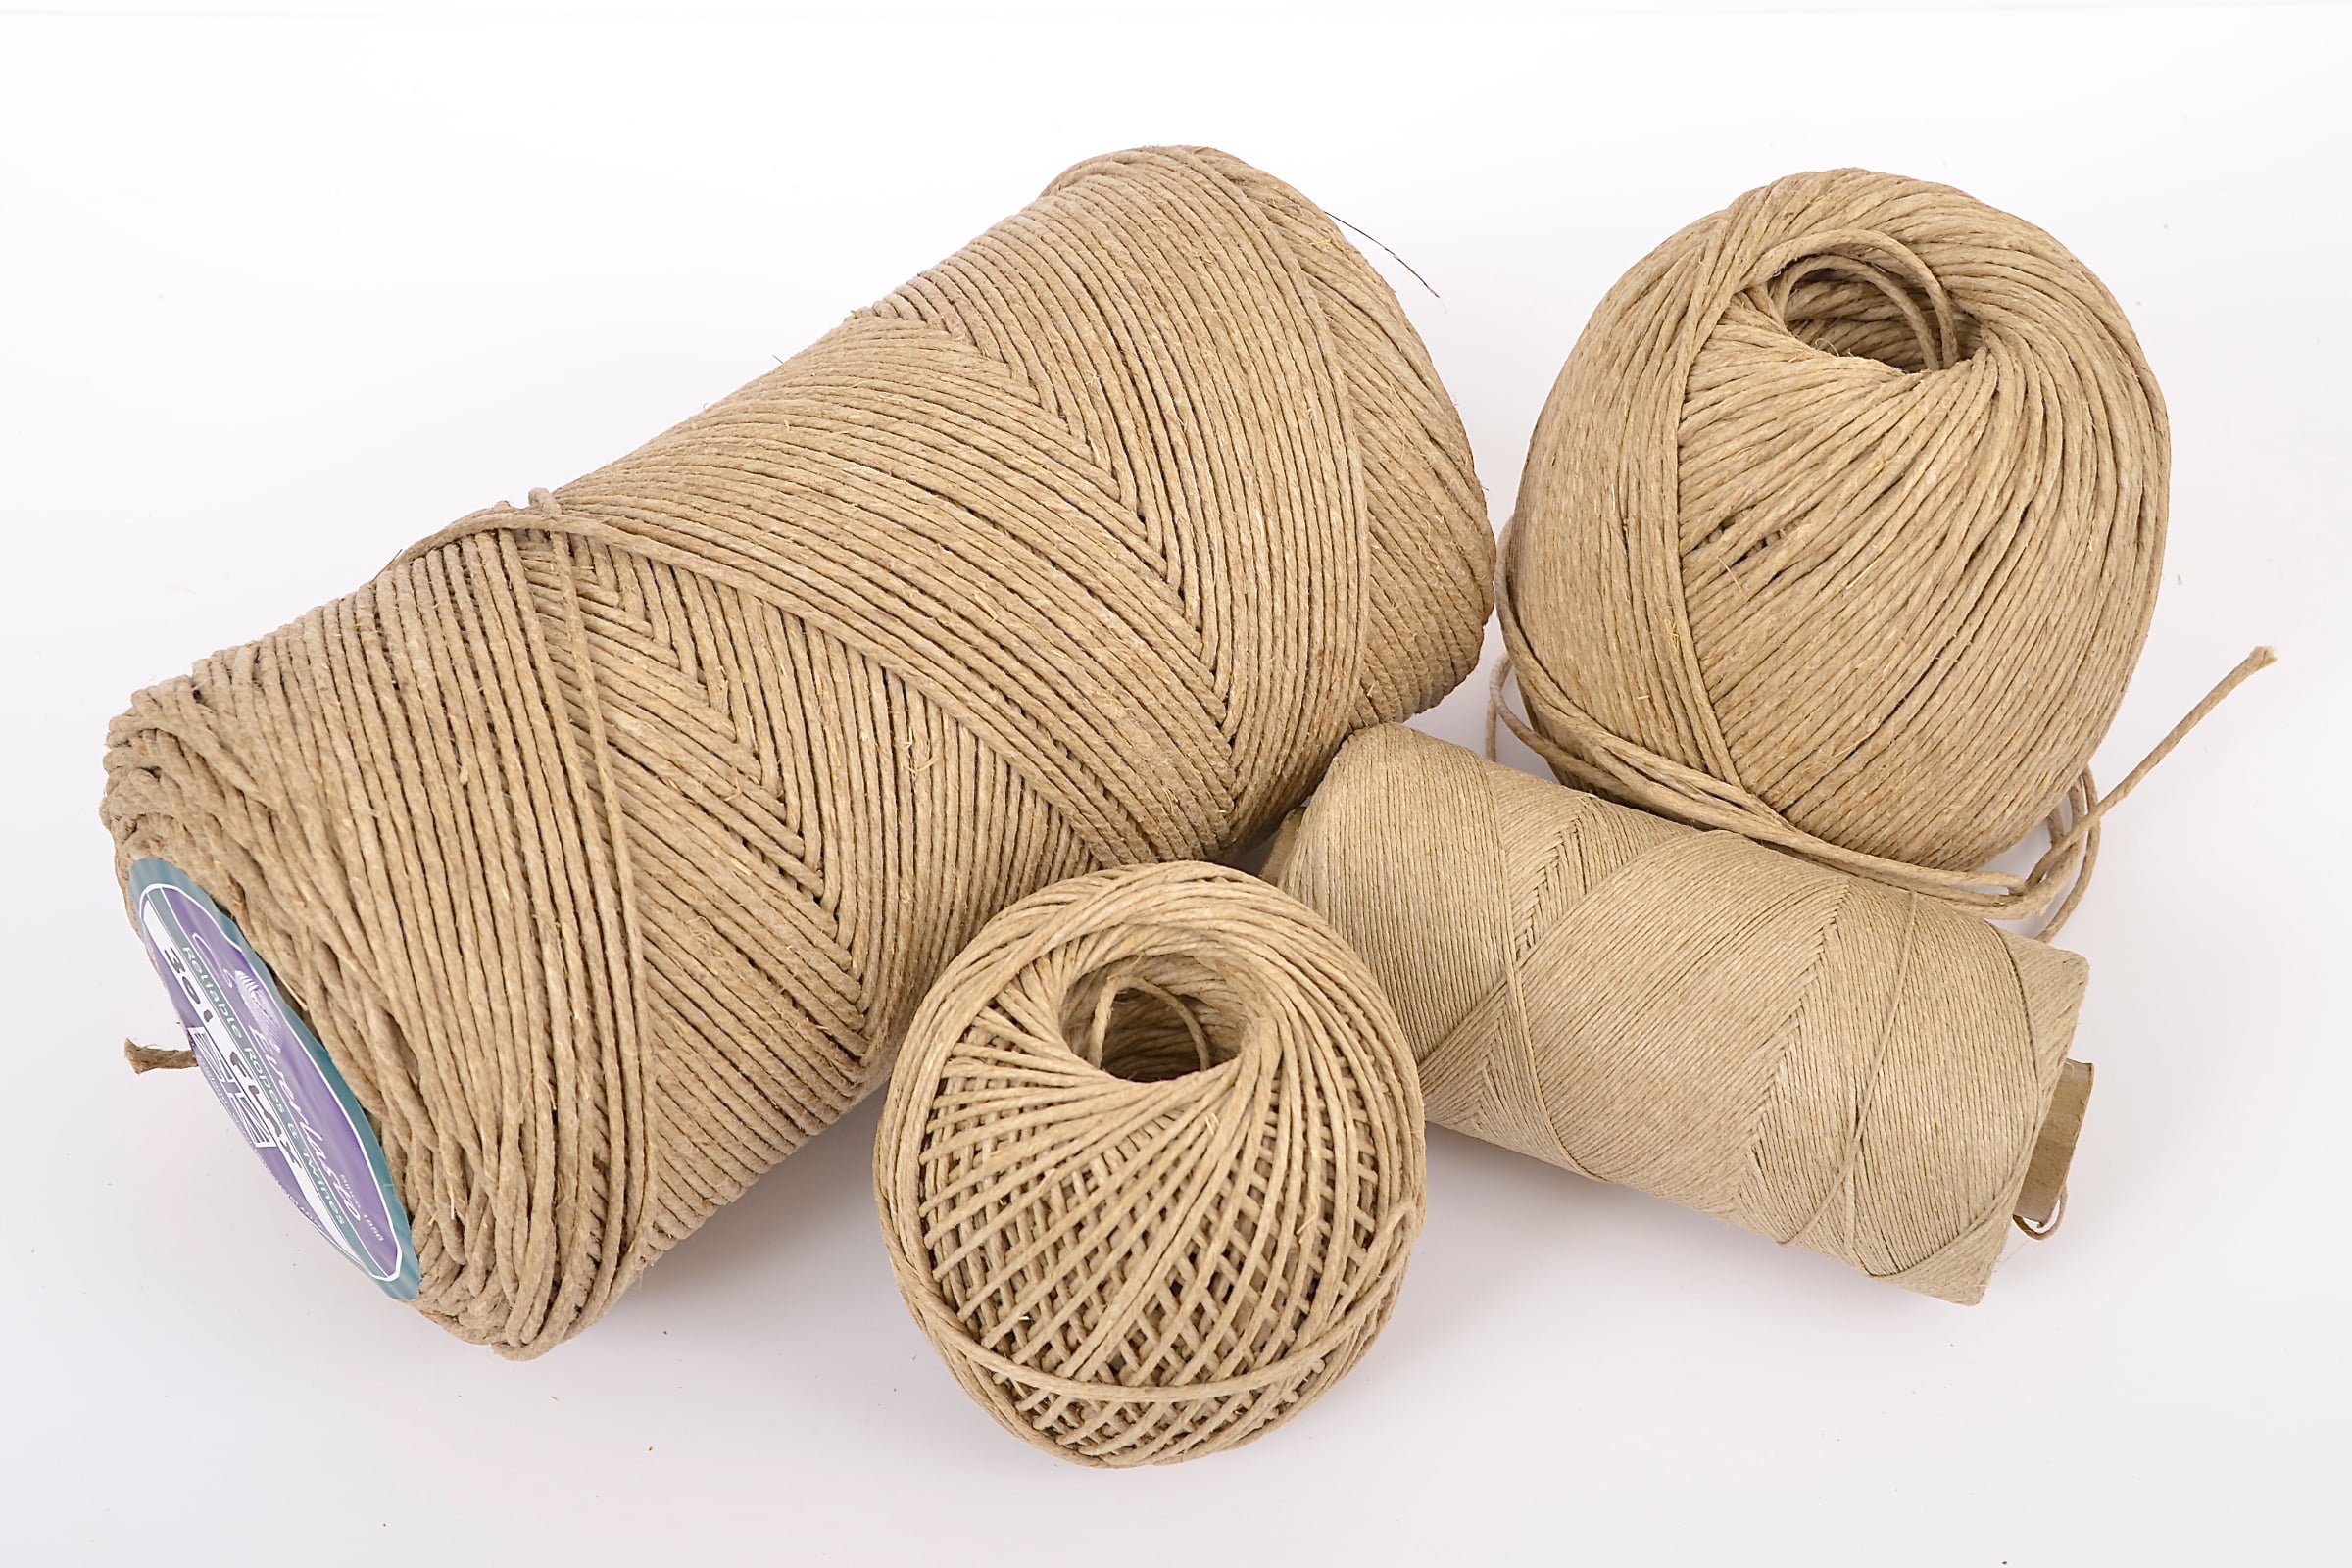
Natural washing lines
Natural washing lines, such as cotton and jute are more sustainable and eco-friendly, due to their biodegradable nature. They also give your garden a more natural feel too. Cotton is softer on your hands and clothes, whereas jute washing lines are more hard-wearing and have more water and fray resistance. If you’re looking for the best of both worlds, weatherproof cotton washing lines may be the way to go.
Poly washing lines
Polypropylene or poly washing lines are one of the most common, and cheapest, washing lines to choose from. Whilst not as eco-friendly as natural washing lines, polylines come in a wide array of colours and are strong, long-lasting and waterproof.
PVC washing lines
PVC washing lines, such as our Kleenwash White PVC Clothes Lines, are made with a polypropylene core and outer PVC layer. They are extremely hard-wearing, durable and easy to wipe clean when left out in the elements. Other ranges, such as our Orient Coloured PVC Clothes Lines come in an assortment of colours, to match any garden theme.
Steel core washing lines
Steel core washing lines combine the best of PVC and polylines. Whilst the line is thinner than other materials, the steel core within the washing line makes it one of the most strong and durable lines on the market. The PVC outer layer can be easily wiped clean, and the collection comes in multiple colours or a translucent option – to match your garden.
Retractable wireline
Retractable washing lines are perfect for homes with little to no space, or for people wanting to tidy away their washing line once they’re done. These lines are mounted on strong structures and extend and lock into the required length at the other side. Made with PVC, these lines are extremely hard-wearing, durable and easy to wipe clean.
Rotary dryer
Rotary dryers are perfect for gardens that need to dry a lot of laundry, with little space to do so. Compact yet versatile, a rotary dryer may be the best option for you. Rotary dryers typically use PVC washing lines, which make them strong, durable and easy to clean.
If your rotary dryer’s lines become loose, you can easily switch them out for Rotary Replacement Lines, such as our Long Life Rotary Replacement Line 30M.
Ceiling airer
If drying your clothes outside, for whatever reason, isn’t possible, a ceiling airer may be the best next option for you. Ceiling airers, also known as laundry pulleys, laundry racks or pulley airers, are ceiling-mounted rack mechanisms to dry your wet clothes indoors.
On a ceiling airer, you place your wet clothes over the wooden racks and use a solid braid cotton pulley rope to lift and release the mechanism to your desired height.
Concertina clothes airer
For an easy way to do your laundry indoors and outdoors, whilst optimising on space and easy storage, a concertina clothes airer could be for you. With a collapsible design, concertina clothes airers are made of lightweight metal or plastic, that can be placed wherever you want your laundry to dry.
What is causing your washing line to sag?
There are usually 3 main causes that can make your washing line start to sag – overloading, exposure to the elements and damage.
Overloading your washing line
Overloading your washing line with clothes, regardless of whether it’s made of rope, wire, metal or plastic, will cause the line to sag. This is because the large weight of the clothes applies strain and pressure to the line.
Exposing your washing line to the elements
As washing lines are usually kept outside, exposure to the elements such as wind, rain, UV and fluctuating temperatures can impact the integrity of the line and cause it to sag. Some materials may withstand this better than others, such as weatherproof cotton or PVC, however, all materials will succumb eventually.
Damage to your washing line
Whilst overloading and having it constantly exposed to the elements outdoors can damage your washing line, accidental damage can also cause the line to sag. Accidental damage may look like animals climbing on the line, ball games in the garden gone wrong or a trip-and-pull situation, to name a few – causing the line to fray or snap.
How to prevent your washing line from sagging
1. Selecting the right material
Selecting the right material for your needs is going to be one of the best ways to prevent your washing line from sagging. Natural materials are more likely to sag, fray or break as they naturally decompose when exposed to the elements and excess weight. PVC, poly and steel core lines, on the other hand, are more durable, though can still succumb to the same fate without proper maintenance.
If you only air light loads of laundry in the warmer months, cotton washing lines may be a simple, gentle and eco-friendly option for you to choose from. However, if you typically opt for larger loads and live in a wetter climate, PVC or poly washing lines may be better suited.
2. Proper installation
Installing your washing line incorrectly is a fool-safe way to expect sagging. But what could an incorrect installation of your washing line look like?
- Loose washing line
- Not anchoring the line securely
- Installing the line somewhere where it is more likely to be damaged
- Installing the line on loose poles
3. Regular maintenance of your washing line
Regular maintenance of your washing line is paramount to keeping it in the best condition and preventing sagging. Without regular maintenance, expect more sagging and a shorter lifespan for your washing line.
Regular maintenance, that you can DIY, includes; inspecting the line for signs of wear and tear (such as frays, bends or stretches), tightening the line, checking the anchors are secure, and cleaning the washing line.
4. Tightening and reinforcing your washing line
Washing lines beginning to sag is going to happen, regardless of material, over its lifespan. However, before choosing to replace your line, there are ways in which you can tighten or reinforce the line first.
Rope tensioners
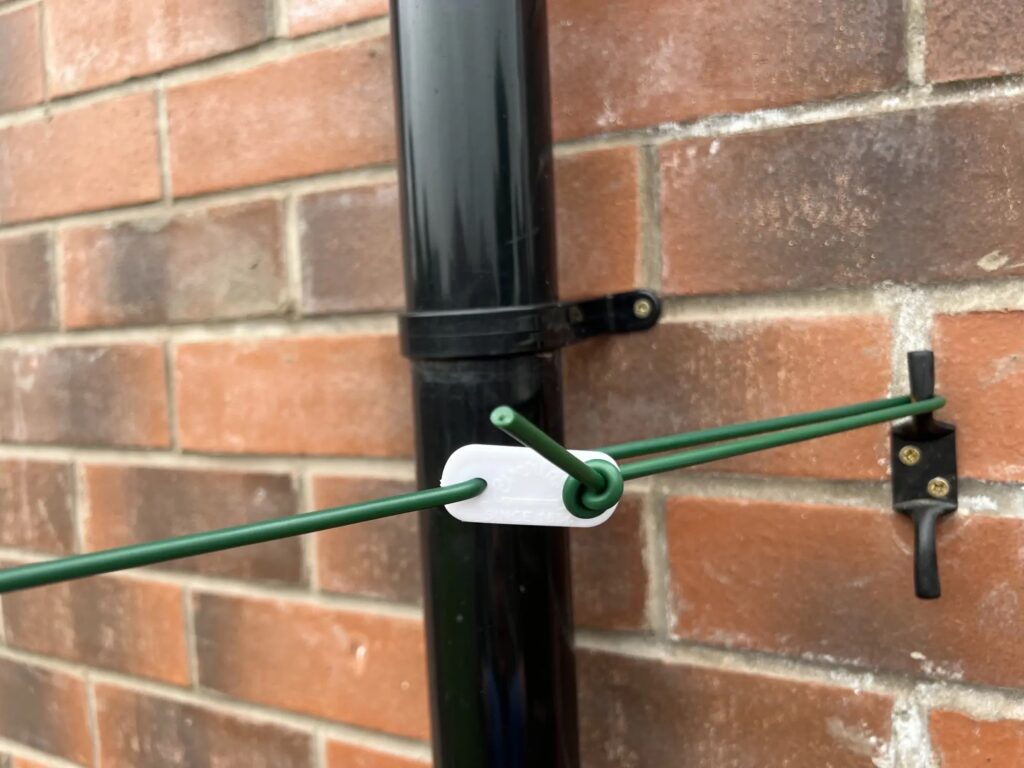
Rope tensioners or tighteners are a great way to literally pull a bit more life into your washing line and get it taut again. You simply feed the rope through one of the holes, loop it around your post or hook and then feed it back through the other hole and tie a knot. The tension in the line can then be controlled by either increasing or decreasing the size of the loop around its anchor point. A larger loop at the anchor point will pull the line taut, so we recommend that once you have hung your clothes out, pull the line back taut again by sliding the tensioner along. Rope tensioners are included with all of our washing lines.
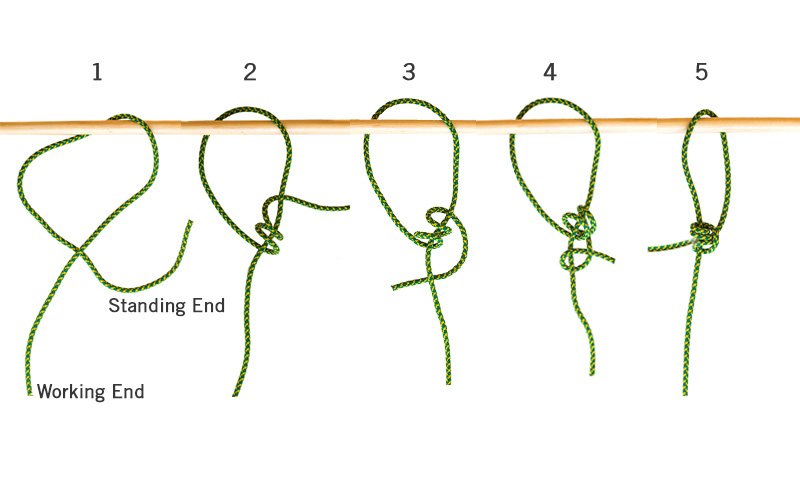
Tying a knot
If you don’t have access to a rope tensioner, tying a knot onto the rope may just do the trick. A simple loop and knot can be slid along the line to increase or decrease the loop around the anchor point and prevent the washing line from sagging – known as a taut-line knot. As with a rope tensioner, the washing line can be tightened by increasing the size of the loop at the anchor point, and slackened by decreasing it.
Washing line props
Washing line props can also push your line up, allowing for a little extra lifespan, whilst also keeping your clean laundry both off the ground and easy to take off once done. Washing line props position your rope to be taut again, by raising it from the central point which pulls the sides tight against its anchor points. Once your laundry is dry and you’re ready to bring it in, simply remove the washing line prop and your line will fall back to its original level.
5. Weatherproofing your washing line
Weatherproofing your washing line is a way to prevent your line from weather-related damage, much of which can cause your line to sag before it eventually succumbs. Weatherproofing your washing line can look like this:
- Installing the line in a covered location
- Cleaning the line, removing moisture and debris
- Choosing a washing line made with weather-resistant materials or coating
When it comes to washing lines, we know a thing or two. Head over to our handy Rope Source blog to learn more, or contact our friendly team for some expert advice!