
Are you looking to spruce up your home with some DIY projects? Why not try out some of our creative rope decor ideas? Rope decoration is a fantastic way to add a touch of rustic or nautical charm to your living space. Learn how to use rope for crafting, and be inspired by some charming crafts that you didn’t know were possible to make with rope. Before you get started, be sure to read our guide to different rope types and their strength, to ensure you select the most suitable rope for your needs. Here are our top four rope decor ideas to inspire your next home DIY project.
1. Hanging rope mirror frame

A nautical rope hanging mirror frame can add a touch of beachy style to your home. You can easily create one with some coiled rope, a hot glue gun, and a circular mirror to start with. To stop the rope from fraying, you’ll need to use the right tools. We recommend using a hot knife rope cutter sealer paired with hot glue to ensure that your rope ends don’t fray, guaranteeing that your nautical rope mirror will last for many years to come! Follow these steps to craft your own rope mirror as the first of our exciting rope decor ideas:
1. Choose your rope
Like with most home DIY projects, this hanging rope mirror frame is fully customisable to your desired finished product. The type of rope you choose for this rope decor idea can completely transform how your rope mirror looks. For example, opting for a decking rope or natural rope will help you to keep a nautical theme. Making a mirror with these ropes can perfectly complement our other simple nautical home decor ideas. Alternatively, you could choose a bright decorative braid for a rope mirror that adds a unique pop of colour to your home.
2. Arrange the rope on your mirror
With your rope of choice, create coils around the border of the mirror. Start with one on the outer edge and work your way in, taping the ends down as you go. The number of coils you choose depends on the size of your rope and mirror, but around four is a good estimate for this rope decor idea. Position the ends of the rope at the top of the mirror, so they can be covered later by more rope.
3. Glue the rope down
Once you’re happy with the arrangement of ropes on your mirror, it’s time to glue them down. Use a hot glue gun to do so, as this is the best type of glue to use for all types of rope, from jute to sisal rope. However, don’t glue the ends of the rope, as we will cover these up in the next step.
4. Cover the ends
To cover up taped ends, unwind a portion of the rope to get a thinner piece. Then, wrap this rope around the ends until they are covered. Be sure to glue this rope down securely at the back of the mirror.
5. Hang the rope mirror
With another piece of rope attached to the back, hang your newly crafted nautical rope mirror in a place where you can show off this impressive home DIY project. If you want to really embrace a nautical home decor theme, hang the mirror from a dock cleat like in the image above.
2. ROPE BASKET BOX
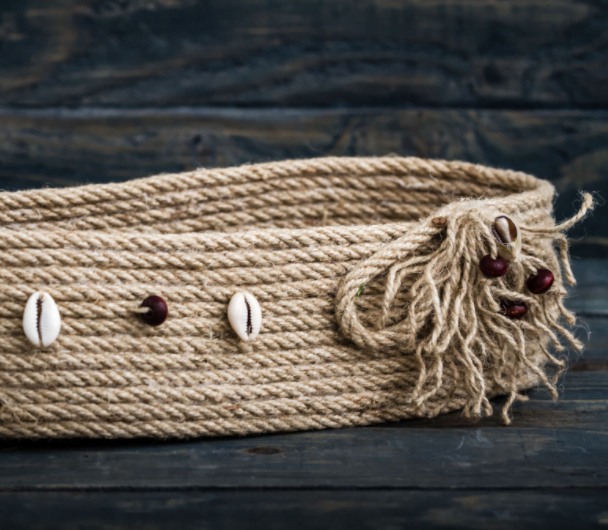
The perfect addition for any room in your home, why not create a homely box basket using some twisted jute or natural rope? All you need is a cardboard box, your rope of choice, a hot glue gun with glue sticks, and scissors.
1. Cut the box
Choose a cardboard box of your desired size – but bear in mind that the larger the box, the more rope and glue you will need. Cut the top flaps off the cardboard box with a pair of sharp scissors.
2. Glue rope to the box
Begin wrapping the rope around your now flap-less box. It’s easiest to start at the bottom, using your hot glue gun to secure the rope in place as you go. When you reach the top, cut the end of the rope using a hot knife cutter or your scissors, then glue down the very ends, including any frays.
3. Use fabric to line the box
Now that you have the outside of the basket box looking perfect, it’s time to cover the cardboard interior. Use fabric to line the inside – any type of fabric will do, from coloured hessian rolls for a bright, fresh craft, to classic white muslin like pictured.
3. DIY ROPE VASE

Add a touch of rustic style to your home with a decorative rope vase, which can be displayed alongside these other 5 rustic design ideas for your home. You’ll need a vase, twisted jute rope, a glue gun and glue sticks, scissors or a rope cutter, and a heavy clip.
1. Choose a style of rope
This rope decor idea is fairly straightforward, which means the rope you choose can make all the difference in the overall look. If you are opting for a more rustic rope vase, choosing a plain natural rope will deliver this look. However, you can really customise this craft with a variety of decorative braids, from coloured cotton and decorative polypropylene braids, to metallic braided polyester for a more luxurious look. Take a look at our guide to the best uses for decorative rope for more home DIY projects to undertake with any leftover rope!
2. Attach rope to the base
Grab your rope of choice, and add some hot glue to the inside of the rope end. Attach the rope to the base of the vase, then begin to coil it around the base tightly, adding glue to the rope. When you reach the top coil at the end, add an extra dab of glue to make sure it’s completely stuck down.
3. Let the glue set
Use a heavy clip to clamp the rope so it is secured and let it sit for a few minutes until the glue is completely set.
4. Perfect your rope vase
If you use scissors rather than a hot rope cutter to cut your rope, you may have frayed ends. Be sure to sort these out at the end, using extra glue to fuse the ends together and minimise the risk of your rope vase slowly falling apart.
4. NAUTICAL ROPE COASTERS

Learn how to make nautical rope coasters in just 3 easy steps. This is a super easy rope decor idea, as all you need is some rope and a glue gun!
1. Coil your rope together
Create a small, tight coil with your rope and glue it in place. Continue to coil and glue the rope until it reaches the perfect coaster size.
2. Finish the ends
As you reach the ends of the coaster, use some extra glue to make sure the end is strongly stuck down. There may be some fraying, so we recommend using a hot knife rope cutter to seal the rope before you glue it down.
3. Decorate your coaster
This next step is optional, but means you can customise your rope coasters to match any theme or aesthetic you like. Create your own stencil – or simply freehand – and use paint to add designs to the top of your coasters. However, be wary of the texture of the rope, as this may not be the easiest to use brush strokes on. Let the paint dry completely before using.
These simple DIY rope decoration ideas are bound to spruce up your home, and are perfect for matching any aesthetic. Our blog is overflowing with rope decor ideas, including this gorgeous rainbow rope wall hanging. Why not take a look at our extensive range of ropes, twines and cords, perfect for inspiring your next rope decoration project! Feel free to contact us to find out some more.