Posted on Leave a comment

How to put up a marquee

marquee that has been put up

What is a marquee?

You may hear marquees referred to interchangeably with other outdoor structures, such as gazebos or tents. However, marquees are much larger structures that are suitable for large occasions such as weddings or commercial events. So, what is a marquee? Put simply, a marquee is a large tent that is temporarily erected in order to provide shelter for an outdoor event. Most marquees are waterproof as they use materials such as polypropylene, which is the same hard wearing material that tarpaulin consists of. 

If you’re curious about how to put up a marquee, or you’re not sure what you need, we’ve got everything you need to know in this guide. 

Things you’ll need to put up a marquee

Aside from your marquee, you will need some other equipment to help you. We’ll explain how these tools come in later – for now, here is everything you’ll need to put up a marquee:

How to put up a marquee

The way to put up a marquee will differ depending on the size, shape, and manufacturer of the materials gathered, so be sure to read their instructions carefully for specific details. Additionally, many marquees for hire are assembled by the company themselves, due to the sheer size and intricacy of erecting a marquee. However, if you would like a general rundown on how to put up a marquee, keep reading below. We outline the basic instructions that’ll guide you through putting up your marquee.

1. Assemble the frames

The first step to putting up your marquee is assembling the structure that will hold everything up. It helps to first lay out the parts of your frame on the ground, so that you know which pieces fit together. There will usually be two parts of the frame to assemble; the roof frame and the apexes. Don’t attach the legs to the marquee yet; this will come later.

If you have the instructions that came with your marquee, use these to correctly slot different poles and frames into place. Without the instructions, it may take some trial and error to fit them together correctly. If your frame doesn’t look right once you’ve assembled it, it is safest to take it down and try again. Incorrectly constructing a marquee can cause serious injuries to guests, so if you’re doing this yourself you must take care to create a solid structure. 

2. Attach the roof

Next up, you’ll need to attach the roof fabric to the frame using bungees. Ensure that the roof is pulled tightly across the frame to prevent it from flapping in the wind. If the roof seems too long to be taut across the frame, you will need to take another look at the roof frame, as this will not have been constructed properly. 

3. Erect the marquee

Now it’s time to get your marquee standing up, which you may need a few people to help you with. Take the legs and lay them out along the longest side of the marquee and attach them. You can do this by starting at one corner, lifting the marquee and having someone insert the leg into the marquee. Then, move towards the centre pole and attach this one too. Continue until all of the legs on one side of the marquee have been attached, and then repeat on the other side. 

4. Attach the ground rails

Ground rails will add extra support to the structure, but they can be something of a trip hazard when placed in the entrance. So, whether you choose to include ground rails here is up to you. Simply slot the ground rails together in place to provide more stability to the marquee.

5. Attach walls, windows, and any other parts

Now that your roof and structure are in order, it’s time to add all of your walls, windows, doors, or any other features of the marquee. These are simple to erect, but it can be time consuming as you’ll need to fasten each eyelet on the marquee – and there will be a lot of these. Use bungees or some thin cord to attach these in place, and cut to size using a hot knife rope cutter that won’t fray the material.

6. Anchor the marquee

You’re almost finished putting up your marquee! Once the marquee is constructed, it needs to be anchored down so that it doesn’t fall over or blow away in the wind. The easiest way to do this is with some strong rope or load straps attached to a stable point nearby. You could also attach weights to each leg to help keep the marquee grounded. Marquee weights vary from 10 kg to 1000 kg, so the weight you use will depend on the size of your marquee and the weather conditions for the duration of your use. The larger the marquee and windier the conditions, the more weight you will need to use. 


Your marquee should now be ready to use for whatever outdoor event you have planned. For more equipment perfect for outdoor projects, take a look at our range of products. Contact us to learn some more.


Posted on Leave a comment

How to use garden twine

drying herbs from a clothes hanger

 What is garden twine?

Garden twine is an essential item for gardeners. It can be used for multiple different purposes and can be incorporated into a range of gardening projects. From creating DIY hanging planters, to tying and supporting climbing plants, garden twine really can do it all.

What is garden twine made of?

Garden twine can be made from a variety of materials, both natural and synthetic. From jute to polypropylene, there is an extensive range of garden twine available. They also come in a range of camoflaguable colours, such as brown and green, to seamlessly merge with your outdoor space. They certainly won’t impact your garden’s aesthetic. 

Natural garden twine

natural jute garden twine, brown and green

Natural garden twine is a great, sustainable option for gardening fanatics. As jute twine is biodegradable, it is the perfect environmentally-friendly choice for your garden. Keep everything as nature intended with some jute garden twine.

Synthetic garden twine

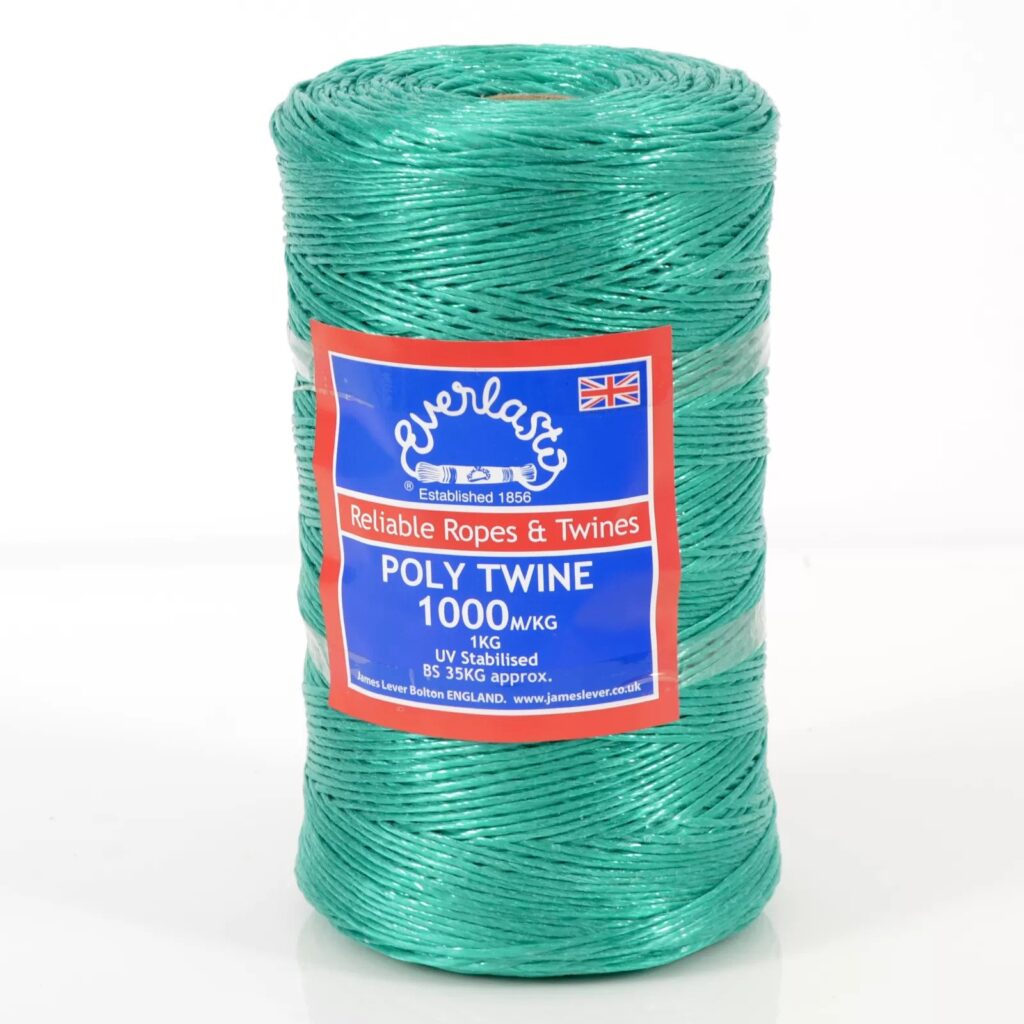
synthetic green poly twine

Synthetic twine is extremely strong and versatile when it comes to its uses in the garden. Polypropylene garden twine will last a lot longer than its natural counterpart, however it is not biodegradable and should be disposed of properly after use.

How to use garden twine

So, what can you use garden twine for? Well, its immense versatility means there are actually quite a few potential options available, so many in fact that it’s become a staple amongst horticulturists. 

1. Tying and supporting plants

climbing plants in a grid pattern

Tying climbing plants helps not only with supporting and aiding their growth, but it’ll make your garden look a lot tidier and less overgrown. Using gardening twine, tie your climbing plants to a support, such as a fence or wire mesh, to ensure a happy growing period. Green jute garden twine is great for tying or supporting your plants, and will blend right in with your garden’s aesthetic. 

2. Hanging onions, garlic or herbs to dry

a cast iron stove with garlic hung up to dry

Drying garlic and onions is a must, and missing out this step will most likely result in your crops rotting during the storage period. You can use any sort of garden twine to hang up your onions or garlic, and you can do the same when drying herbs too. To ensure that your process is successful, hang your crops in bunches from a rack or a clothes hanger and leave for a few weeks. To speed up the drying, use a dehydrator for up to ten hours until all crops are completely dried. For that earthy look whilst hanging, we recommend using natural jute garden twine.

3. Separate areas in your garden

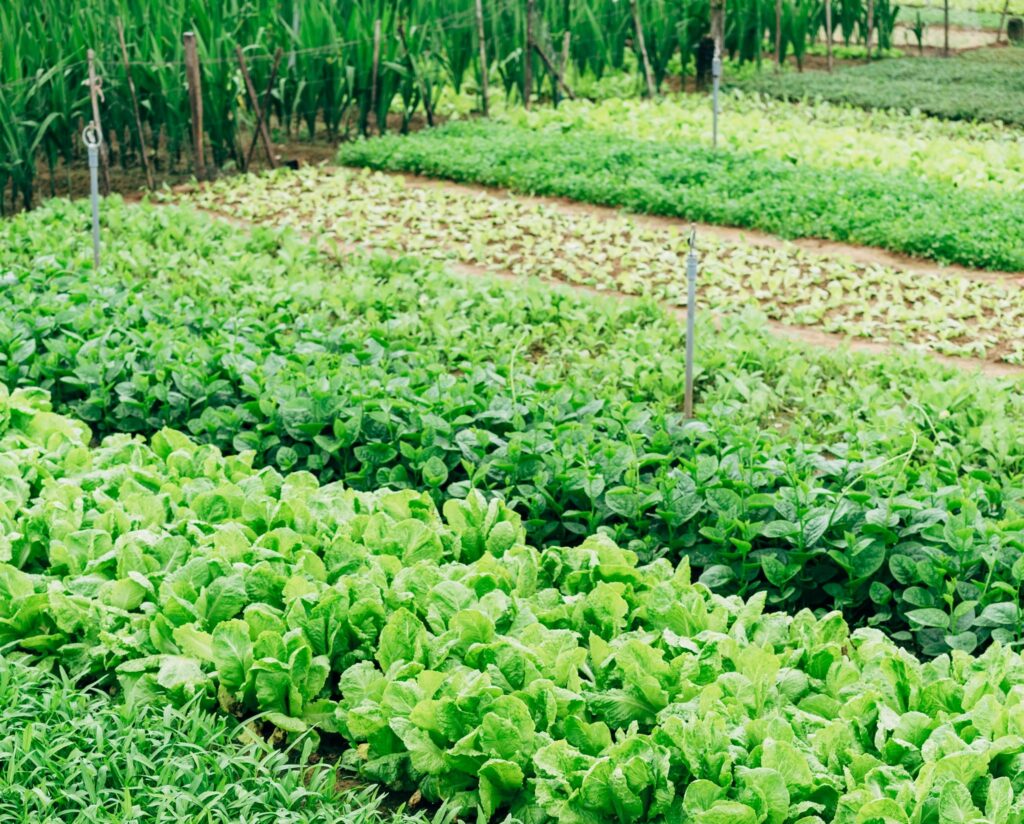
rows of crops in a garden

Keeping areas in your garden separate is important when growing lots of different plant species, and you definitely don’t want your garden becoming overgrown. Using garden twine to cordon off sections of your garden will make it easier to pick and choose where to grow certain plants. Keep your garden organised and tidy.

4. Hang planters

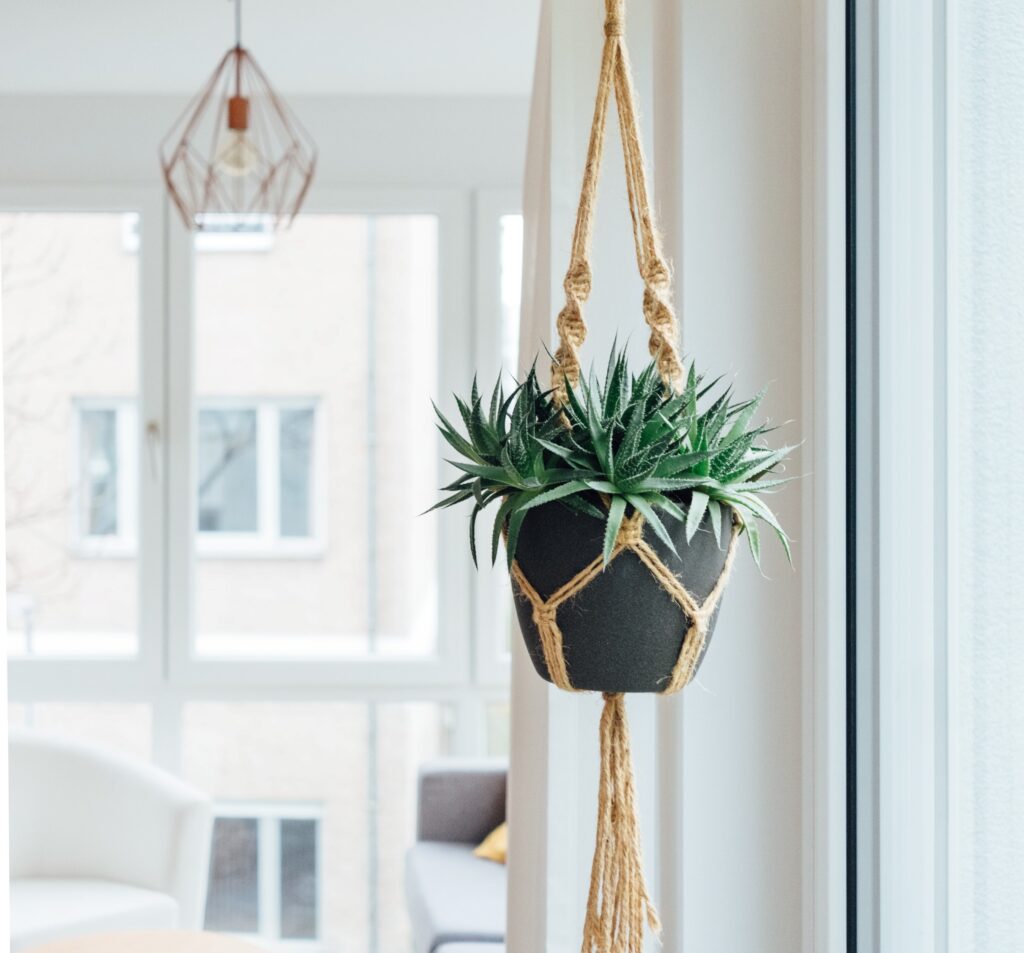
garden twine planter

Add a few personal touches to your garden, and unleash your creative side, with DIY hanging planters. In order to make these planters, you will need to select your desired garden twine and cut around eight pieces of equal length. These pieces should then be tied in one knot to sit at the bottom of your planter, and crossed over your plant pot in a chosen pattern. Make sure that the garden twine is relatively tight around your plant pot to ensure it doesn’t fall or slump to one side. 

5. Train fruit tree branches

people carrying a bucket of apples

Training fruit trees allows gardeners to control how big they grow and where they produce fruit. Tying these branches to walls or fences with garden twine means you can ensure that they don’t take up too much space in your garden. Plus, when it comes to harvesting your fruit, your fruit trees will be a reasonable height, and you won’t need a stepladder. 

Garden twine has so many amazing uses, and we would say it is a staple for gardening enthusiasts. If you’re interested in making your first garden twine purchase, why not check out our range today?

Posted on Leave a comment

Decking ideas for small gardens that are perfect for summer

As spring transitions into summer, and homeowners brace themselves for the return of garden parties and barbeques, it’s the perfect time to show off your outdoor space. However, for gardens that are on the smaller side, redesigning your set-up without minimising available room can often seem like an impossible task. That’s where we step in. 

This collection of decking ideas – ideal for warmer seasons – should (hopefully) fill your mind with plenty of inspiration, so that you can start effortlessly transforming your small outdoor space. 

Circular decking

Move away from traditional decking design and go circular, embracing geometric designs rather than hard edges. Used as a way to set your outdoor space apart from your neighbours, complete your modern set-up with angular furniture and a curved plant border to make your decking area a feature piece. 

Complementary decking colour

The colour you choose for your decking can completely transform your outdoor space, and with an ever-expanding list of tones and shades to take your pick from, it’s never been easier to complement your home’s aesthetic. Whether you opt for a minimalist grey, earthy browns, or even a striking dark blue, make sure to pick some garden furniture that blends beautifully with your chosen decking colour to avoid making your space look crowded. 

Design a walk-way

Perfect for adding an element of playfulness to your garden, a path will trick the eye and create the illusion of increased space. Customise the surrounding area as you wish, perhaps framing your walkway with stones, tall plants and glowing floor lights to illuminate your garden.

Take your visitors on a sightseeing journey around your garden with a pathway that leads up to a featured seating area for kicking back and relaxing, or to a snap-worthy viewing point that’s worth showing off. 

Multilevel decking

Compromised on space? The answer is multilevel decking. By establishing distinct zones for varying purposes – whether that’s a cooking area complete with a fire pit, or a seating area for some outdoor, summer relaxation –  this is a great alternative for enhancing visual interest. Use steps or even a small bridge, made with wooden planks and decking ropes, to easily make your way between areas. 

Enclosing your space

If you’re looking for extra privacy, there are plenty of creative methods to enclose your decking area. Decking ropes are brilliant for just this, which vary in material and thickness, so you can customise your garden space in a way that seamlessly blends in with your desired aesthetic.

From nautical-esque manilla decking ropes that certainly wouldn’t look out of place in a rural setting, to sisal decking ropes that are great for complementing timberwork, create a rope railing that best suits your preferences.

Choosing decking furniture

Naturally, furniture preferences will vary between individuals, but for those with a smaller garden, we advise choosing compact furniture. These will be much easier to store away when summer skies turn to gloomy clouds, and they’ll make your decking area look much less cluttered. 

Multifunctional outdoor furniture is another efficient way to maximise available space – who wouldn’t fall in love with a bench that can convert into a coffee table, or seats that open up to become storage units? Choose pieces that will make your life easier. 

Lighting

Now that you’ve filled your decking area with plenty of outdoor furniture, it’s time to start adding the finishing touches. Lighting can completely change the mood, so why not show off your newly designed garden space with twinkling string lights? Ideal for hosting summer parties. 

Keen to enhance your decking area? Get started today and explore our vast stock range of ropes and twines – we’ll have just what you need to start your next DIY project. Contact us today to find out more.

Posted on Leave a comment

Sports and games you can play in your own back garden

sports outside

Keep the family entertained with these incredibly easy-to-set-up games for the back garden. Release your competitive spirit and have fun from the comfort of your own home and garden with these simple, classic sports and games. 

Obstacle course

Get creative and make your own garden obstacle course. By using everyday household items and simple ropes, you can create a fun obstacle course, whether on grass or concrete. You can cater the difficulty to suit different age groups, and you can mix things up for different days. Get some boxes and crates for kids to jump over. Use tables to crawl under or to move around the legs. Use ropes to create ground lines to hop over or for everyone to limbo. Spare tyres in the garage? You know what to do with them. 

Ladder toss

Make your own ladder toss game with wood or PVC pipes, golf balls, and some three-strand nylon ropes or twisted nylon twines. Colour or mark the golf balls for each player, and drill a 3/8” hole through each golf ball. Thread the nylon rope through, tying a knot on each end to secure the golf balls and to make your bolas – your two golf balls on each bola should be about a foot apart. 

Give each pole across a colour by painting or adding coloured tape or card, whatever can mark for point indication. As long as you have at least three poles across for the ladder frame, you’re good to go. Stand on the other side of the garden or roughly 15 feet back from the ladder, and toss your bolas onto the rungs. The top rung is worth three points, the middle is worth two, and the bottom rung is worth one point. First to 21 points wins!

Tug of war

Test your strength with a good, old game of tug of war. All you need is rope –

cricket boundary rope is perfect for this game, or you could go for the natural manila rope – coloured tape, and a bit of fighting spirit. Mark the middle of the rope with the coloured tape to work out a centre point, and make sure both teams are holding onto the rope at the same distance from the centre marker. Whether you play one-on-one or with groups on either side (as long as it’s equal), the aim of the game is to successfully pull the majority of the rope to your side. 

Football fun

Whether you have football nets already or trees or posts, you can set up your own mini match or football training in the garden. Maybe it’s time for a penalty shoot-out or if your garden is big enough, a mini match. Practise those keepie uppies or header skills. Use cones or household items to make a footy obstacle course to get those dribble skills in, too. 

Garden sports day

Eggs and spoons in the kitchen? A few sacks lying around or even some pillowcases? Spare ropes? You’ve got yourself a mini sports day! Don’t forget the three-legged race, and if you don’t have a big garden, you can do laps or a few lengths. 

If it’s a hot day, why not try a bucket head challenge. Fill some buckets with water and have people race through an obstacle course whilst carrying a bucket of water on their heads. The winner is whoever still has the most water left in their bucket at the end of the race, and the loser has to have everyone pour their buckets over them!

You can use a duvet or blanket laid out for the long jump. Use rope to act as the jumping spot, placing it a metre in front of the duvet or blanket. Then, step three metres back from the rope, take a run-up, and compete for the longest jump! Don’t forget to mark down the distances.

Paddling pool games

This one is perfect for toddlers and the little ones, but even teenagers and grown ups can have some fun in a paddling pool. You can try the ‘sink or float?’ game where children guess which objects will sink or float in the water. Use a variety of objects for them to experiment with, such as a rubber duck, orange, banana, building blocks etc. Not only is it a fun game, it gets their brain ticking and helps with scientific thinking – you can ask questions and get children to guess why certain objects sink or float to analyse patterns of behaviour. 

There’s also the ‘chicken’ game. For this, nominate someone to be the leader, and they then do an action for everyone else to copy. If the children copy the action, they are safe. If they get it wrong, they will get a bucket of water poured onto them as well as a letter to spell out ‘chicken’. When they have collected all the letters to spell out ‘chicken’, they lose. The last player to be knocked out is the winner. And, of course, the word ‘chicken’ can be changed for any other word that will amuse your kids!

Ring toss

By using wooden stakes or bottles, along with rope, you can create your own ring toss game easily. If using bottles, make sure they vary in size, and you may want to fill them with sand or gravel to weigh them down with the caps screwed on. Or, use wooden stakes in the ground, all dotted about with a good distance between them. 

You can add coloured tape to symbolise different points – the furthest back will be worth more points. Then, grab the rope – natural ropes work great – and make rings. Use tape, preferably coloured for each player, to bind the rope together to form the ring. If you haven’t got any coloured tape, you can mark them. 

You could either play by letting everyone have a turn each, or let each person try to score on every bottle or stake in one go, and then tally up the points to see who wins each round. Best of three, five, ten? It’s up to you. 

Tin games

Make use of your tins, recycle them for a back-garden game! Gather rinsed out tins that all vary in size and depth, and place them around the garden. Use golf balls, pom poms, table-top tennis balls or whatever works to toss them into the tins. You can go for bonus points for any consecutive tosses into tins. Or, why not build them up to make a tower and see how many you can knock down with one ball kick. 

There are so many simple, fun games you can play and make yourself at home and for the garden! Rope materials can help you form some brilliant, easy games. Contact us today for all your resources. Rope Source is the place to come!

Posted on Leave a comment

Decking for your garden ideas for 2021

Nautical decking for the garden

Staycation is the buzzword for the year, not only because of travel restrictions, but also because of the interest in reviving our economy and hospitality industry. As we focus on local scenery and getaways, there’s also another revival happening, that of our homes and gardens, with them getting more TLC! So then, let’s walk through some inspiring decking ideas you can work on for your garden to turn them into classy, relaxing staycation spots. 

All aboard the nautical decking

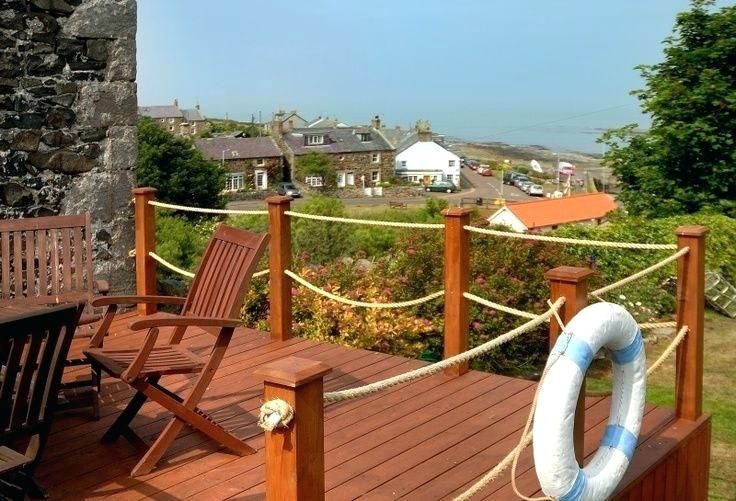
Nautical decking 

When it comes to garden decking, the nautical design is both timeless and popular. Whether you’re a marine fan or not, this decking style works brilliantly for almost any garden. And what’s great is that this is one of the most simple ideas to do. Whatever the decking height or size, the classic nautical look has standing beams attached to the base with marine-esque ropes threaded through each to create that ‘at the pier’ vibe. You can also choose from a diverse range of decking ropes or use manila rope, mooring rope and natural ropes to complete this garden project. 

Go for ingenuity with bench decking

You can really be inventive with decking, just like this idea of having seating incorporated into the architecture of the decking. From straight to wrapped benches, you can add side tables for drinks and create the ultimate relaxation space. Add cushions and padding for an even cosier feel. 

Bench decking 

Decking around a jacuzzi

Decking around a jacuzzi

Create your go-to homely holiday spot by framing a jacuzzi with decking. Build decked walls for an elevated look. Fence the decking area off with timber barriers overlooking the greenery. This setting makes the perfect unwinding space, where you can add comfy outdoor furniture and lanterns.

Spiralled decking

Spiralled decking 

If you want to stand out, be inventive with a multi-toned, curved and spiralled decking structure leading you down to another platform and into the rest of the garden. With the curved seating design, you can add in central features and get a great structure for space.

Small garden decking

Decking ideas for small gardens 

If your garden is small and limited in space, there are still quirky deck ideas you can do, like building a little fire pit area with surround decking that is narrow. Or, have some decking paths alongside your plants and flower beds.

This is shore to impress

Beach style decking 

Why not bring the beach to you? At least the seaside style! With this theme, your creativity has no limits, as you could really go for it by adding sand areas and a pond, pool or jacuzzi and it’ll all come together perfectly. Lighter browns, greys and whites work wonderfully for the seaside style and decking. You can even give the shed a new lick of paint and turn it into a ‘beach hut’. Add beachy cushions and plants by some garden sunbeds. When all your decorations are up, put on some tranquil beach sounds, lay down and escape. 

Balcony decking

Balcony decking

Having your own balcony is a perfect way to elevate your garden space and give it a holiday vibe. If you have a longer garden, this works really well, as you can overlook the rest of the green space from a higher vantage point. Especially if it’s a higher decking, lots of beams work well for the edge support to create a safer structure. 

Decks with roof structures

Decking roof structure 

For a whimsical garden space, go for some low-level decks with a type of roof structure to hang beautiful flower baskets above and to the side of your seating spots. 

Decking edges

Decking pebble edges 

Mix textures and materials up by adding pebble paths to the sides of decks or creating stone or pebble areas between decks. Or you could use plants instead.

Create garden deck paths

Garden decking path 

You don’t have to create full floors of decking either. Why not create garden paths to lead to areas of your garden, sunbathing spots, picnic areas, flower beds or ponds etc. This simple decking idea can make a huge difference to anyone’s garden. 

Light up the decks

Lighting for decking 

Lighting for your decking is certainly something to think about, especially if you’re going to be spending more time there. And with these amazing decking ideas, you’ll certainly want to! Spotlights work brilliantly along decking edges and planting areas. But, you can also add outdoor lights across the garden and above you by attaching them to fixtures on both ends of your garden. Another popular lighting idea for gardens is wrapping them around trees if you have them. Add in lanterns and candles, and you will have created your own beautiful, bright and romantic sanctuary.

If you’re feeling inspired, bookmark this blog to help with your garden decking project, and contact us here at Rope Source for all your rope materials!